Thursday, September 18, 2014

Picture Ledges Gallery Wall

I've wanted to do a gallery wall of family photos for the longest time. I have a whole Pinterest board filled with inspiration, but the idea of committing to a design and nailing all those holes in the wall made me cringe. I knew I wanted the flexibility to change things up, so picture ledges were the perfect solution!
 
 
The upstairs hallway at our townhouse is long and wide, the perfect spot for a gallery wall.
 

Kevin got a jump start by marking off the studs along the wall.


We were making two ledges and I wanted them as long as possible. We purchased two 1 x 4's, two 1 x 3's and two 1 x 2's and we were careful to pick the straightest boards possible. They were all ten feet long, the longest boards we could find at Lowes. I gave all the boards a light sanding before we began putting them together.


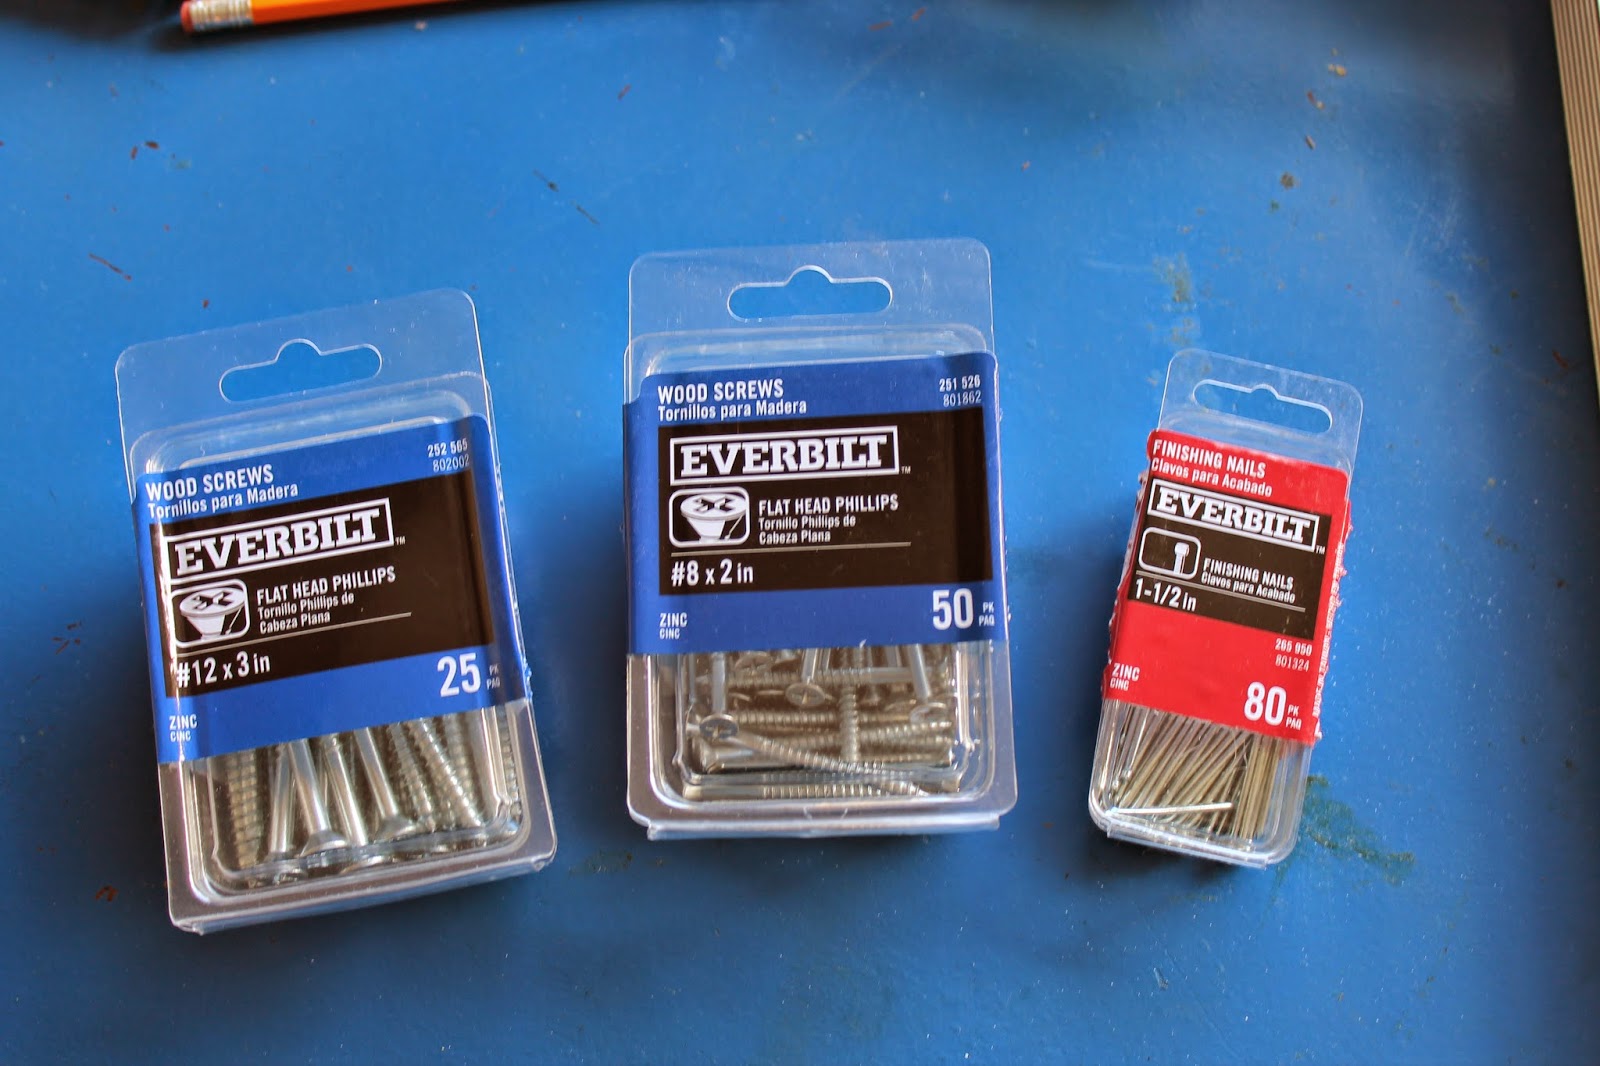
We also purchased two packs of wood screws and a pack of finishing nails.


The construction of the ledges was pretty simple.
 
 
We attached the back boards (1 x 4's) with a bead of wood glue and the 2 inch screws every 10 inches.
 
 
The front boards (1 x 2's) were attached with a bead of glue and the finishing nails every 6 inches. We tapped the nails in and filled the holes with putty before painting for a nice finished look.


I primed, then painted the ledges with two coats of Sherwin Williams Pure White, the same color as all the trim in the house.
 

*I've seen plans for photo ledges using 1 x 4's for both the back board and the bottom board. At one point, that's exactly what we had in our cart at Lowes. But the longer I stood there and thought about it, that just seemed too big. I wanted to be able to layer the frames, but not have the ledges stick out from the wall any more than necessary. I think this size works really well. I am so glad we went with the 1 x 3's for the bottom board.
 

I purchased some really inexpensive frames from Michaels. To start out I'm using all black frames with off-white mats for a uniform look. I may mix in other frames later, but this was a good starting point.
 
 
 I cut out some craft paper in the sizes of the frames to get an idea on the spacing for the ledges.


We decided the lower ledge would be 32 inches from the floor and the higher ledge would be 57 inches from the floor.
 
 
The ledges were then screwed into the studs (through the back boards, every 16 inches) using the 3 inch screws. We did not recess the screws as they will be covered by photos, but I did dab a bit of white paint on each screw head. I couldn't wait to prop up some frames. Even with a wall of sunflowers, I was totally thrilled with the results!
 
 
This gallery wall has a very specific theme. Our townhouse is in our college town - a place very near and dear to our hearts. Kevin and I met at Penn State in the fall of our senior year, 37 years ago. We fell in love with each other and this place all at the same time. We've been coming back ever since and both of our children are now Penn State grads too. This summer, the weekend that we build these picture ledges, Baby Clare made her first trip to Penn State.
 

Maybe one day she'll be a Nittany Lion too!


I've barely made a dent in sorting through 37 years of photos.
This will definitely be a work in progress. And that's why the picture ledges are so perfect!


There have been tailgates and whiteouts, bowl trips and graduations, cheers and tears, love and laughter shared with family and friends!


These family photos tell a very special part of our life story!

Tuesday, September 16, 2014

Be Inspired Features and Link Party #134

Happy Tuesday! Welcome back for features and party day!
 
Elizabeth and Co.

Thanks so much to everyone who came out for our fall sale over the weekend. Now I need to get busy bringing a touch of fall to my own house! ... But first let's check out the fabulous links from last week's party .....

I think this first shot looks like it came straight from a magazine shoot! I just love the farmhouse style and the blue, gray and white color combination. Check out the fabulous kitchen makeover from Kathleen over at Between Blue and Yellow.


My friends Cassie & Sarah created a stylish and sophisticated new office space for their business Sweet Clover! You can check out all the details over at Primitive & Proper.


Susan from Uniquely Yours or Mine shared her bright and beautiful laundry room makeover!


When Pauline from Twin Oaks Studio couldn't find the perfect farmhouse table, she decided to build one!


I love this beautiful deep blue secretary from Chrissie's Collection!

 
Jamie from Anderson & Grant has a nifty tutorial for making thrift store pumpkins look like the real thing!


Add a little fun to your Halloween décor this year with these easy Jack O'Lantern lamp shades from Cynthia from Clockwork Interiors!


And this Blueberry Buckle Coffee Cake from Diane at An Extraordinary Day looks simply delicious!


Thanks so much to everyone who linked up and linked back!
If you've been featured, feel free to grab a cute little button from the sidebar!

 
Elizabeth and Co.

And don't forget that you can also share your garden and outdoor related projects all month long at our September Garden Party. It's our last garden party of the year!
 
Elizabeth and Co.

Now on to this week's party...
*Link up your furniture makeovers, DIY projects, home decor, crafts, recipes, thrifty finds, etc... We want to see whatever is inspiring you at the moment!
 
*A link back would be appreciated, especially if you'd like to be considered for a feature.

*And we'd love to have you follow along with us!

We'll be back next Tuesday with features and a brand new party!


Thursday, September 11, 2014

How I Make Fall Wreaths

It's tag sale week here at Elizabeth & Co. and if you've been here before, you know that a wreath making frenzy takes place before every tag sale!
 

I don't know why I call it a frenzy. I actually find making wreaths to be very relaxing and I look forward to it every season. It's really more of a marathon. I pick a rainy day (or two) and just make wreaths all day long. And I mean ALL day long! I just kind of get in a groove and it's really hard to stop!


This time I took a few pictures of the process. Every wreath is different and it happens mostly by feel, but I think you'll get the idea. ... Since I make wreaths all year round, I buy my supplies (mostly at Michaels) when they are on sale and store them in totes by season. The ping pong table in my basement makes a great work surface where I can really spread out. I used to make wreaths at my kitchen counter, but that was a bit messy! Now I can walk away from the mess when I need a break. I just cover the table with sheets to protect it from scratches and hot glue.


The first step is to look at the wreath and decide where the top will be. Since grapevines are a natural material, they are rarely perfectly round. I try to pick the best shapes, but sometimes that's hard when buying in bulk. This one is pretty lopsided, so the full side will be the exposed area on this wreath. This works especially well for a fall wreath where the grapevine adds to the rustic feel.


I use hemp to tie a loop at the top on the back side so I don't loose track of the best orientation. It also helps to hang the wreath from time to time during the process because it looks a little different hanging than it does flat on a table. You'll immediately see where you need to fill in gaps or balance colors.


I don't have a specific plan for each wreath, it's just a process of adding things that look good together. Sometimes I start with a group of elements that I think play nicely together.


So on this wreath, I picked my starting point and added some fern leaves as a base.


Then I just started layering the different elements beginning with the larger pieces. In this case that was the red flowers. Then I added the smaller flowers and the berries. I usually work in odd numbers and just keep adding little bits and pieces until it feels just right. The stems stick into the grapevine and everything gets hot glued into place.


This wreath ended up with three big red flowers, three green flowers, five white flowers (odd numbers), and berry sprigs in between.

 
This is a very similar color combination starting with the same big red flowers.


The starting point of this wreath was a bow.


And the base here was some greenery and fern leaves.


With a large bunch of flowers, I like to slide all the leaves to the top and clip all the flowers apart. If the leaves don't slide, I snip them off and hot glue them into little gaps. And sometimes I bend the flower head a bit to make it face out instead of straight up.


Again, just start layering. This time I placed the hydrangeas and the berries close to the bow to create a focal point.


And here is the finished wreath.


This wreaths has fruits, berries and a mossy bird's nest. Moss is great for filling in little gaps and odd spaces.


A great big sunflower makes the perfect focal point on this wreath.


Okay, that's as close as it gets to a wreath tutorial. When you get caught up in a frenzy, it's really hard to take pictures. But I hope I've inspired you to try making a fall wreath of your own!


You can check out the 2013 fall wreath frenzy here with an explanation on how the wreath frenzy began!
 
Hope to see you at our tag sale this weekend!
You can check out the preview post with complete details here!
 
I'm sharing with ...